How to Measure for Nautical Chart Wallpaper
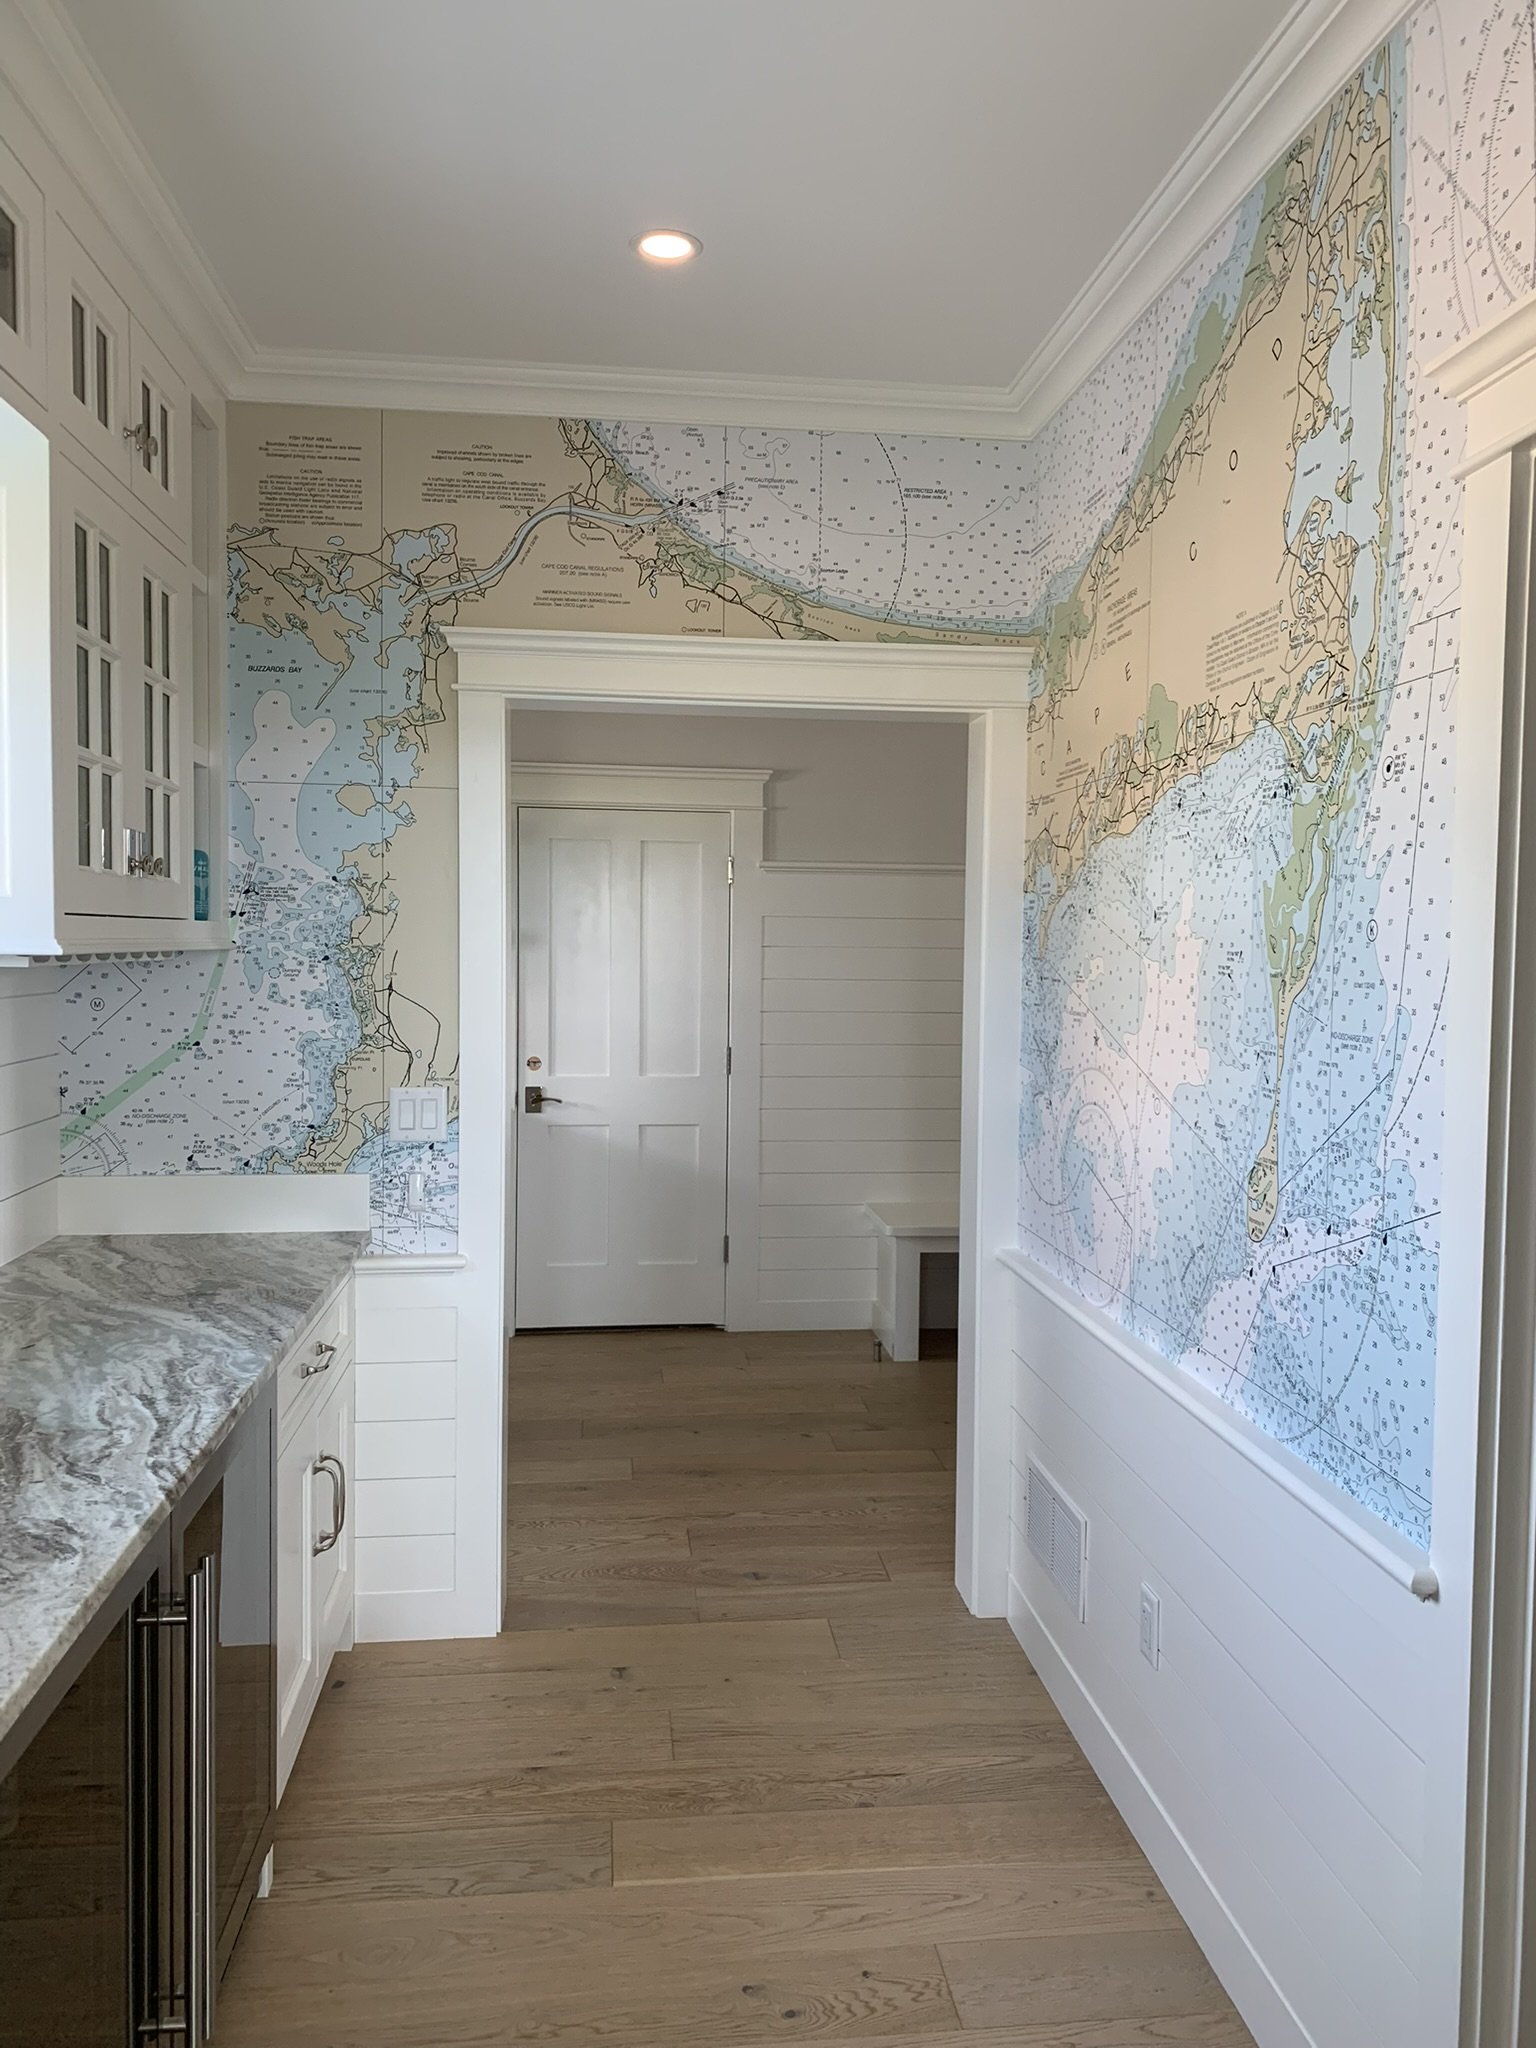
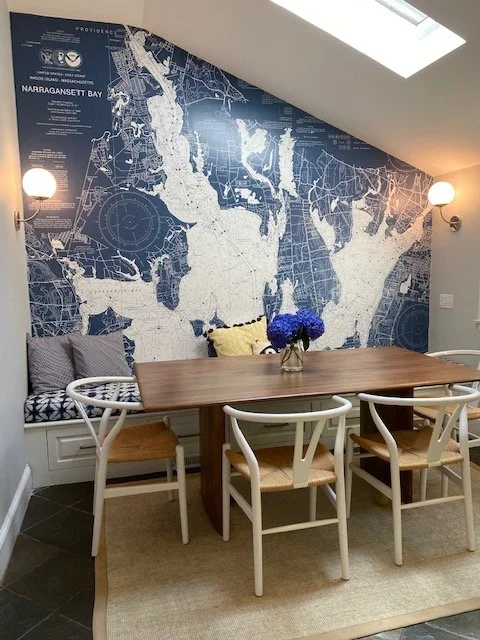
Nautical chart wallpaper adds a distinct sense of place to interior design. Equal parts cartographic detail and decorative statement, maritime murals anchor a room with coastal character, visual depth, and personal meaning. As with any made-to-order installation, the finished result depends on one essential first step: accurate measurements.
We’ll help you every step of the way, call or email us with any questions.
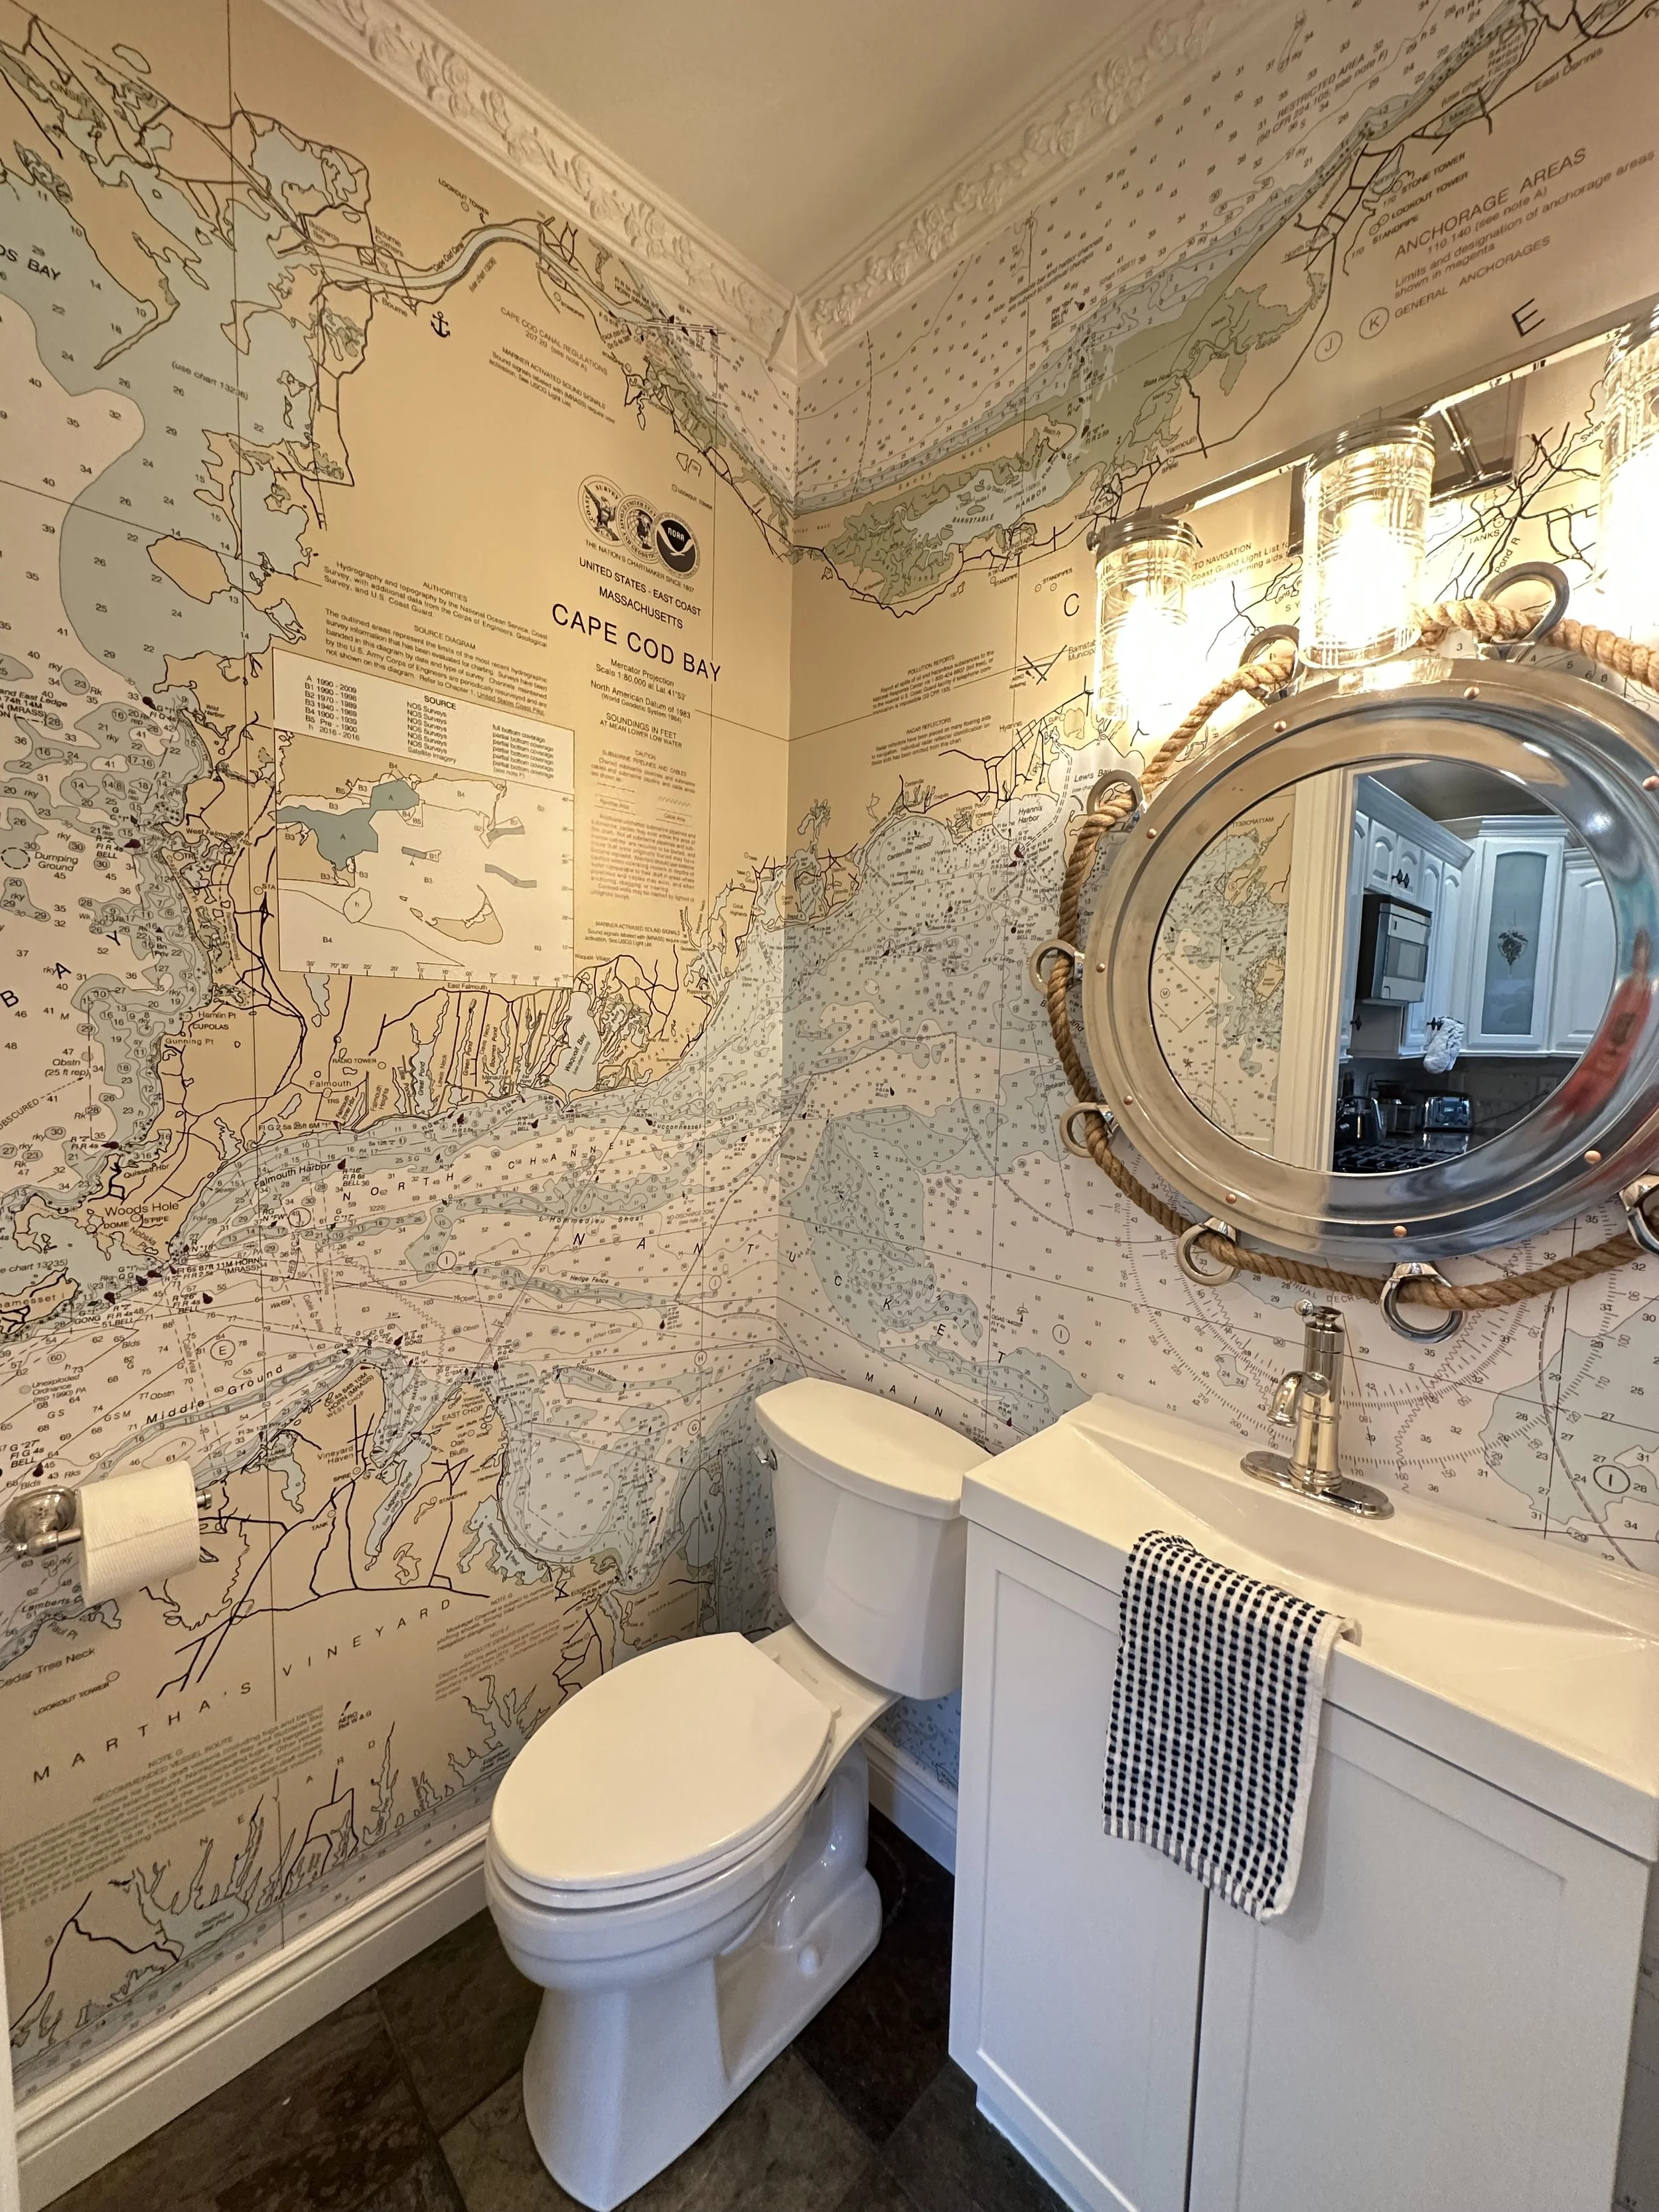
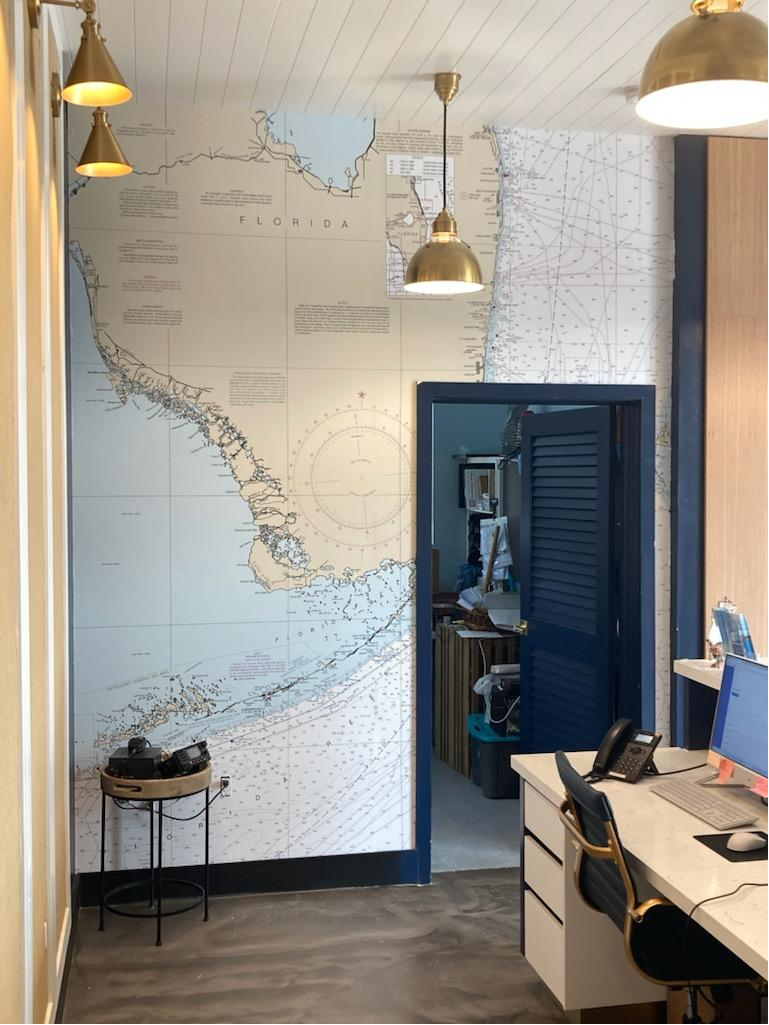
From residential feature walls and professional offices to yacht cabins, hospitality spaces, and commercial projects, precise dimensions allow nautical charts to be scaled and printed correctly. When sizing is handled with care, the design feels integrated with the room rather than simply applied on the wall.
Why Measurements Matter
Our nautical chart wallpaper is crafted to the exact specifications of the project; dimensions shape everything from scale and focal point placement to installation fit. Even walls that appear straightforward often vary slightly in height or width. Meticulous measuring is easier than it seems, and it helps avoid unnecessary revisions while ensuring chart details, typography, and coastal landmarks are positioned with intention.
A common misconception is that total room square footage is enough to begin the design process. Each chart is edited and scaled to fit specific walls, so individual wall dimensions are essential. The more precisely each surface is documented, the more accurately wallpaper is tailored to the space.
What You Will Need
Before measuring for custom nautical chart wallpaper, gather a few basic tools:
Metal tape measure for the most exact wall measurements.
Pencil and notepad to record dimensions and placement details.
Smartphone or camera to photograph the wall and surrounding space.
Simple sketch of the wall, especially for stairwells, sloped ceilings, or other unusual layouts.
Step stool or ladder, if needed to safely reach taller areas.
For consistency, all measurements should be recorded in inches. If the wall includes windows, doors, trim, or built-ins, note those details as well. Don’t worry, it’s simpler than it sounds.
Measure the Full Wall First
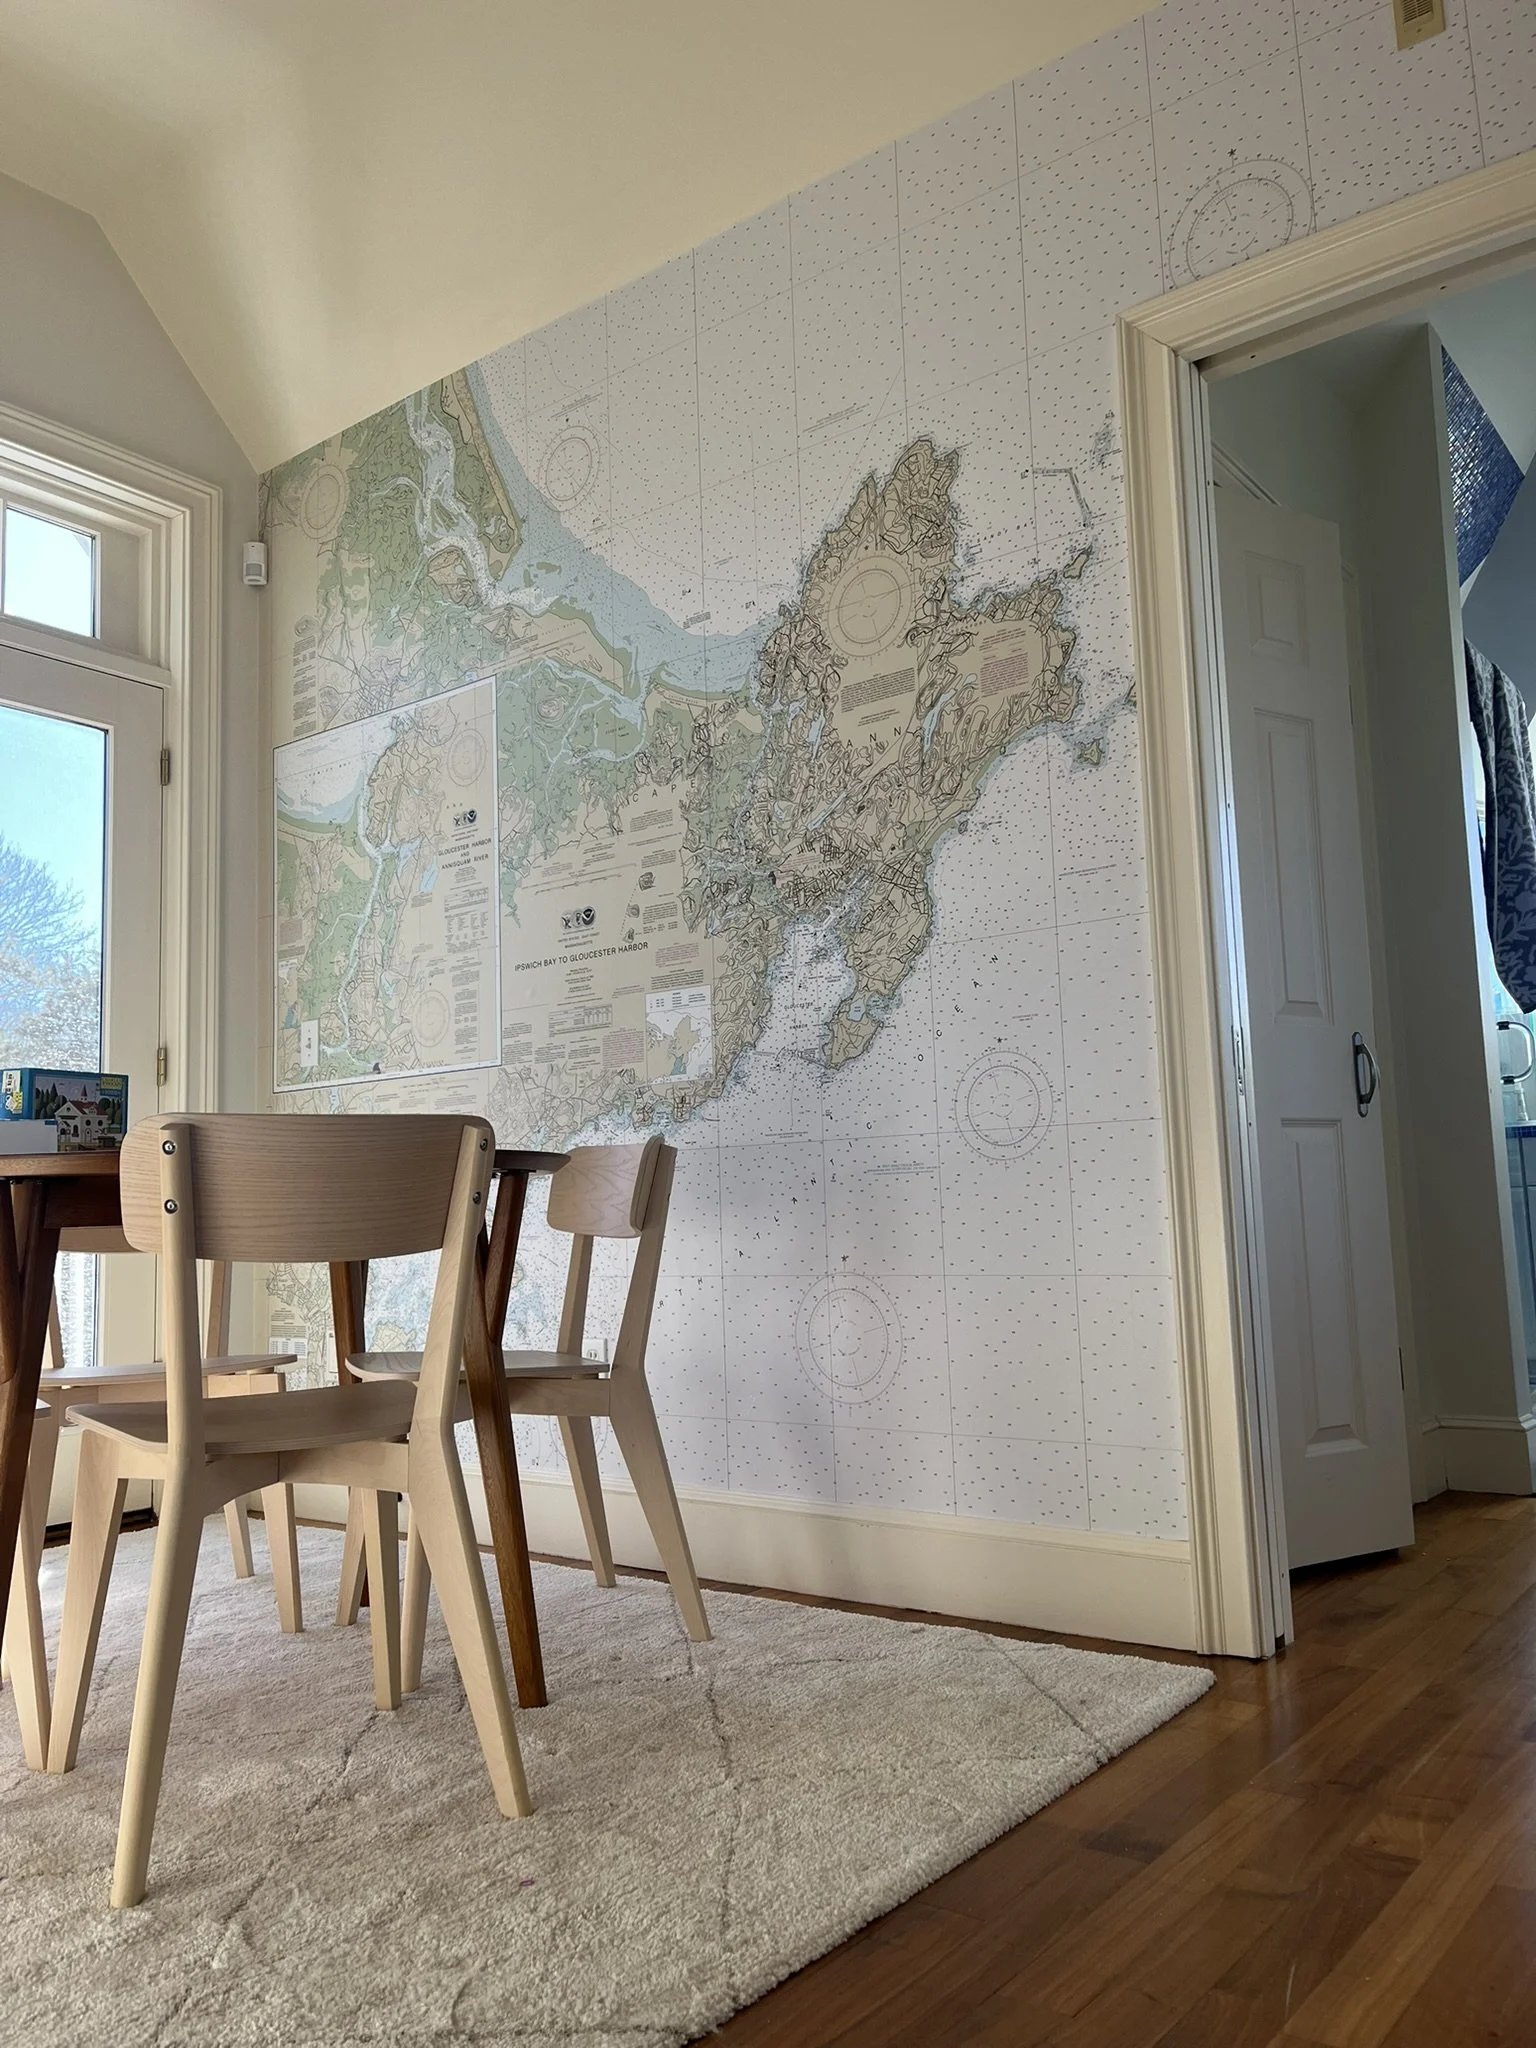
Start by measuring each wall in its entirety, from edge to edge and floor to ceiling, even if the wall includes windows, doors, molding, cabinets, vanities, soffits, or fixed features. This gives our design team the clearest view of the space and allows the chart layout to be planned more thoughtfully, whether that means framing a window or highlighting a key landmark.
Labeling Multiple Walls
If the project includes more than one wall, use a simple labeling system while standing at the door and facing into the room:
Wall A: left wall
Wall B: front wall
Wall C: right wall
Wall D: wall with the door
Using this system makes it easier to discuss adjoining walls, wraparound layouts, and placement details clearly throughout the design process.
Taking Measurements for a Standard Wall
For a standard rectangular wall, the process is simple:
Measure the width at the widest point.
Measure the height at the tallest point.
Confirm both dimensions a second time.
Include a photo of the wall.
If the ceiling is uneven, measure the height in more than one place and provide the tallest dimension.
Measuring Around Doors, Windows, and Built-Ins
When a wall includes windows, doors, molding, shelving, cabinetry, sconces, or vents, measure the full wall first and then note the size and placement of each feature.
Helpful details to include:
Width and height of each opening.
Distance from the wall edge to each opening.
Distance from the floor to the bottom of a window.
Placement of built-ins, vents, sconces, or cabinetry.
Also note whether the wallpaper will extend behind the baseboards or begin above them. If wallpaper will start above the trim, measure the finished height from the top of the baseboard to the bottom of the crown molding or ceiling trim. Each step is quick to complete and ensures an impressive result.
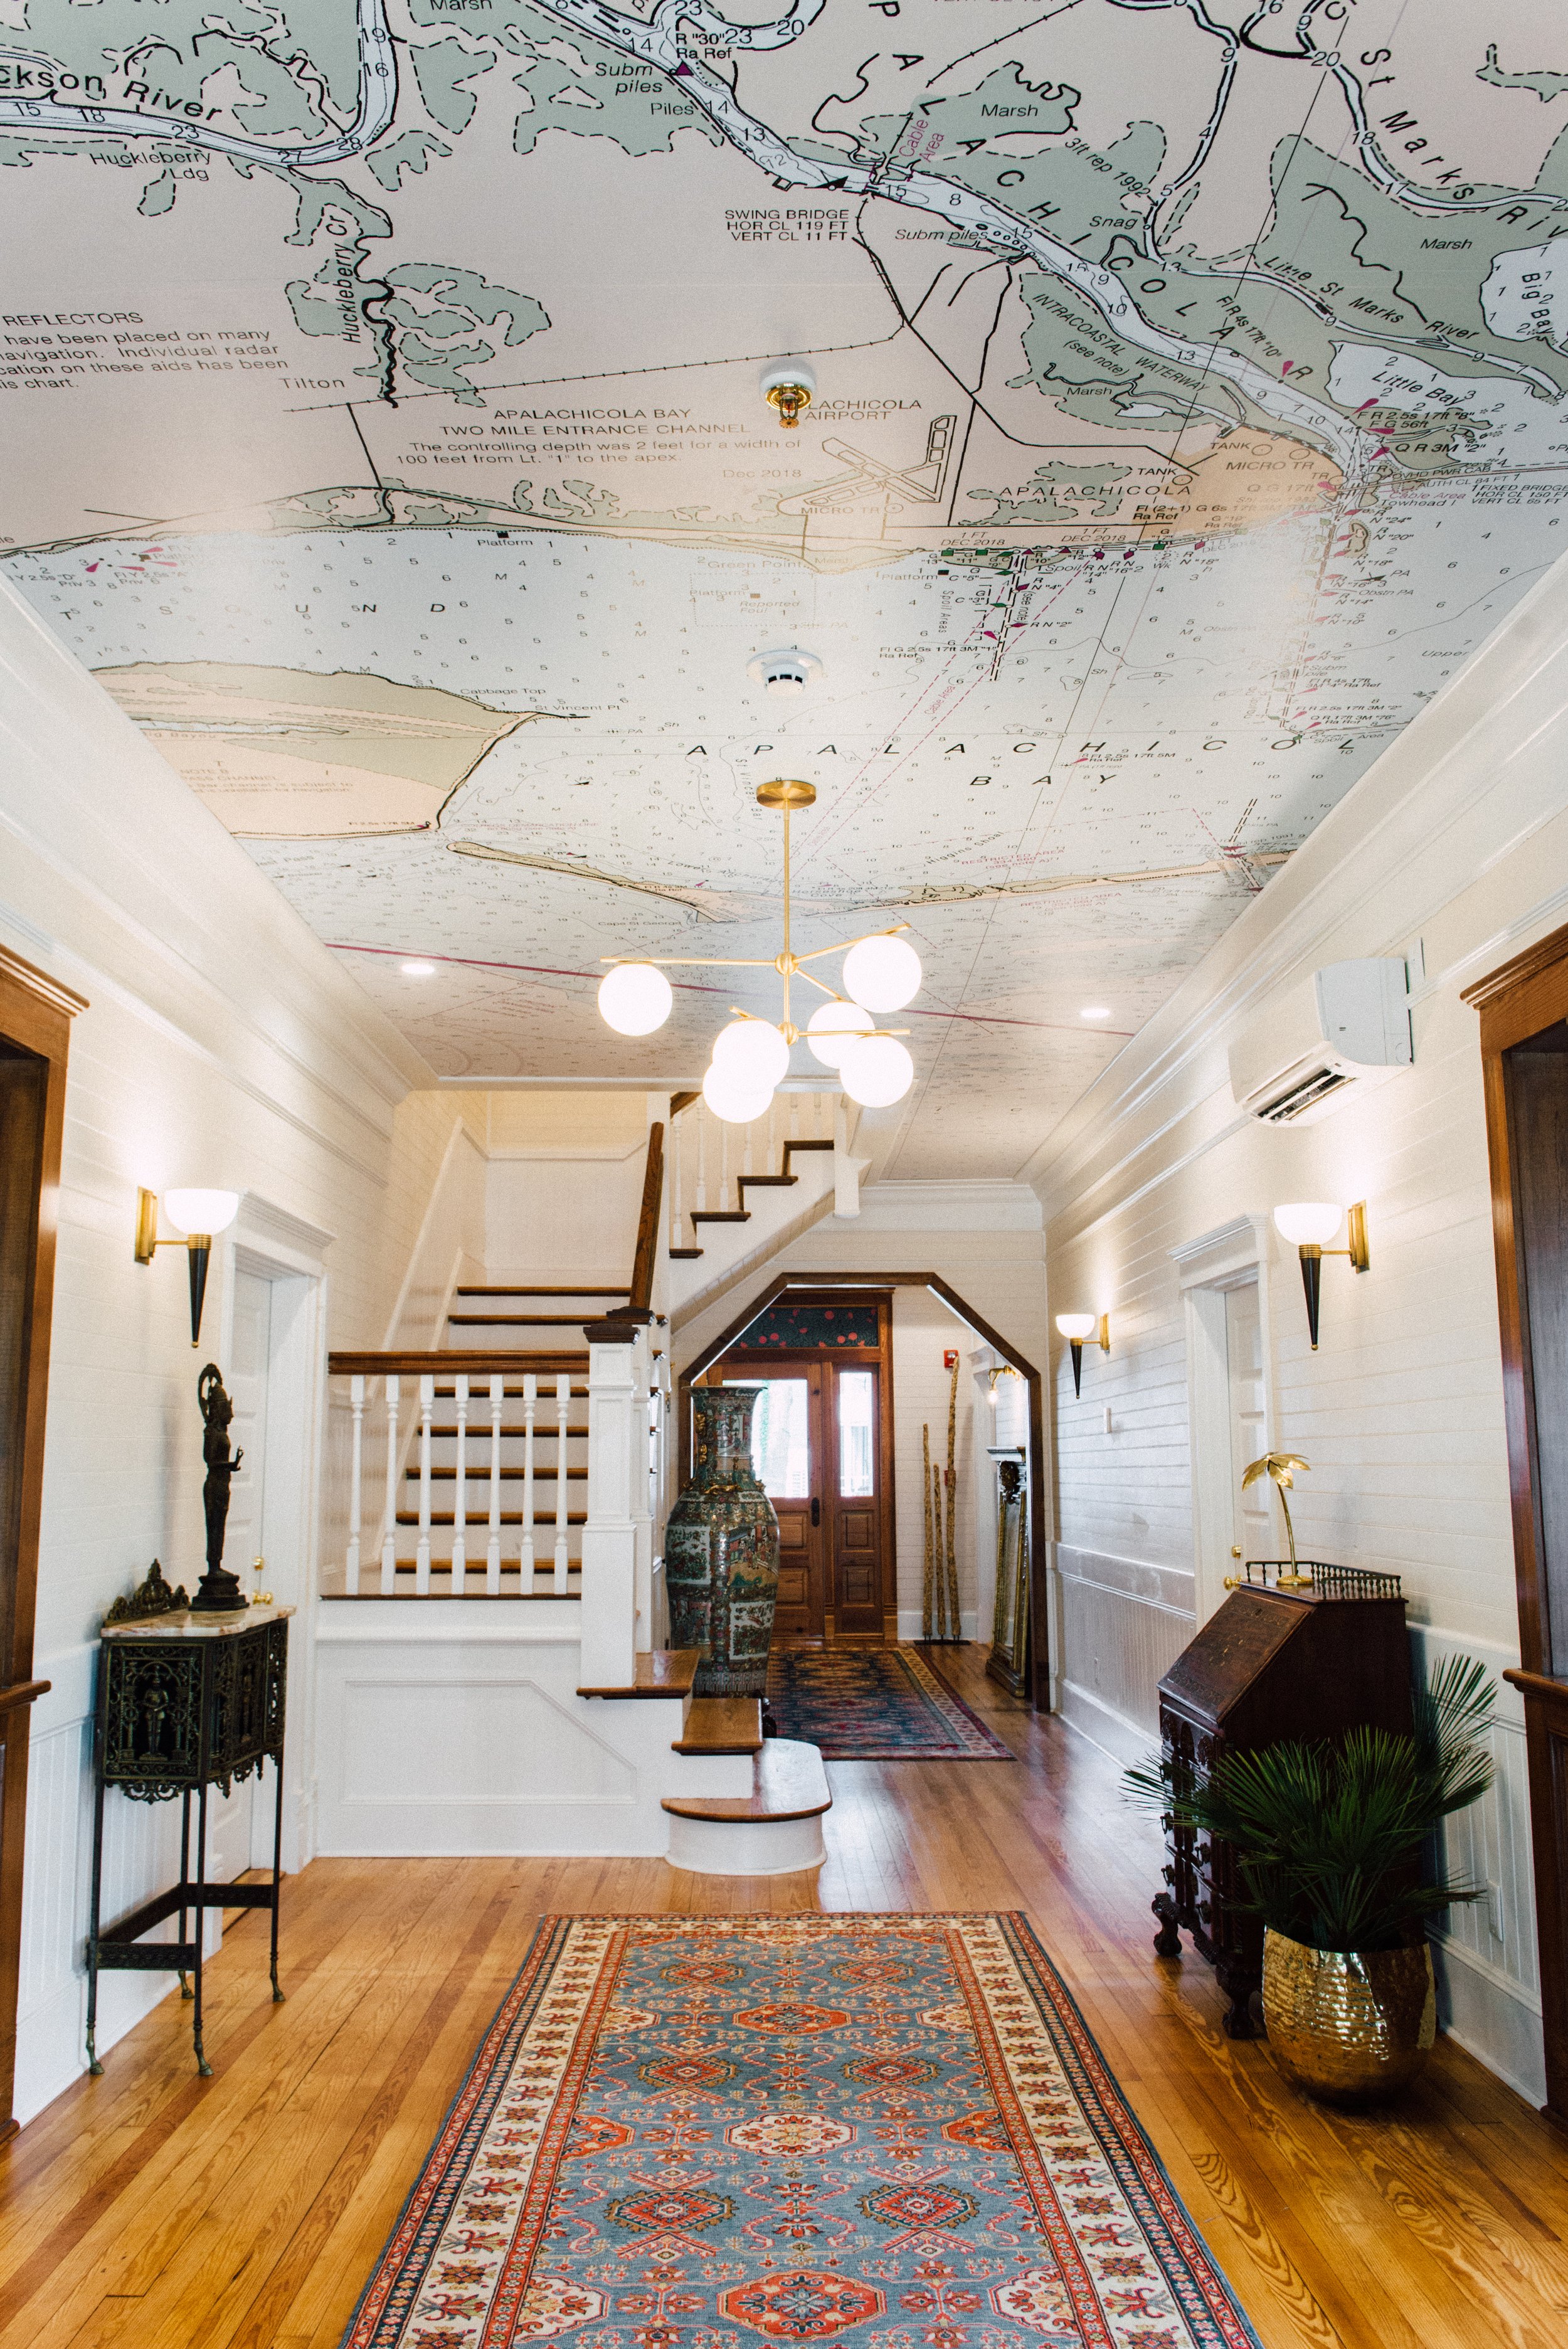
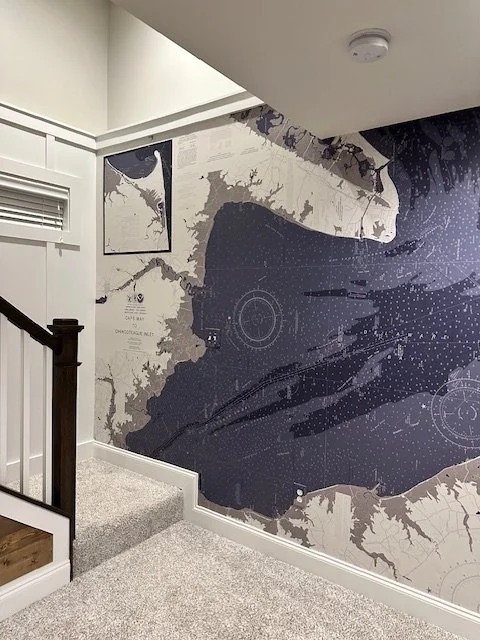
How to Measure Stairwells and Sloped Walls
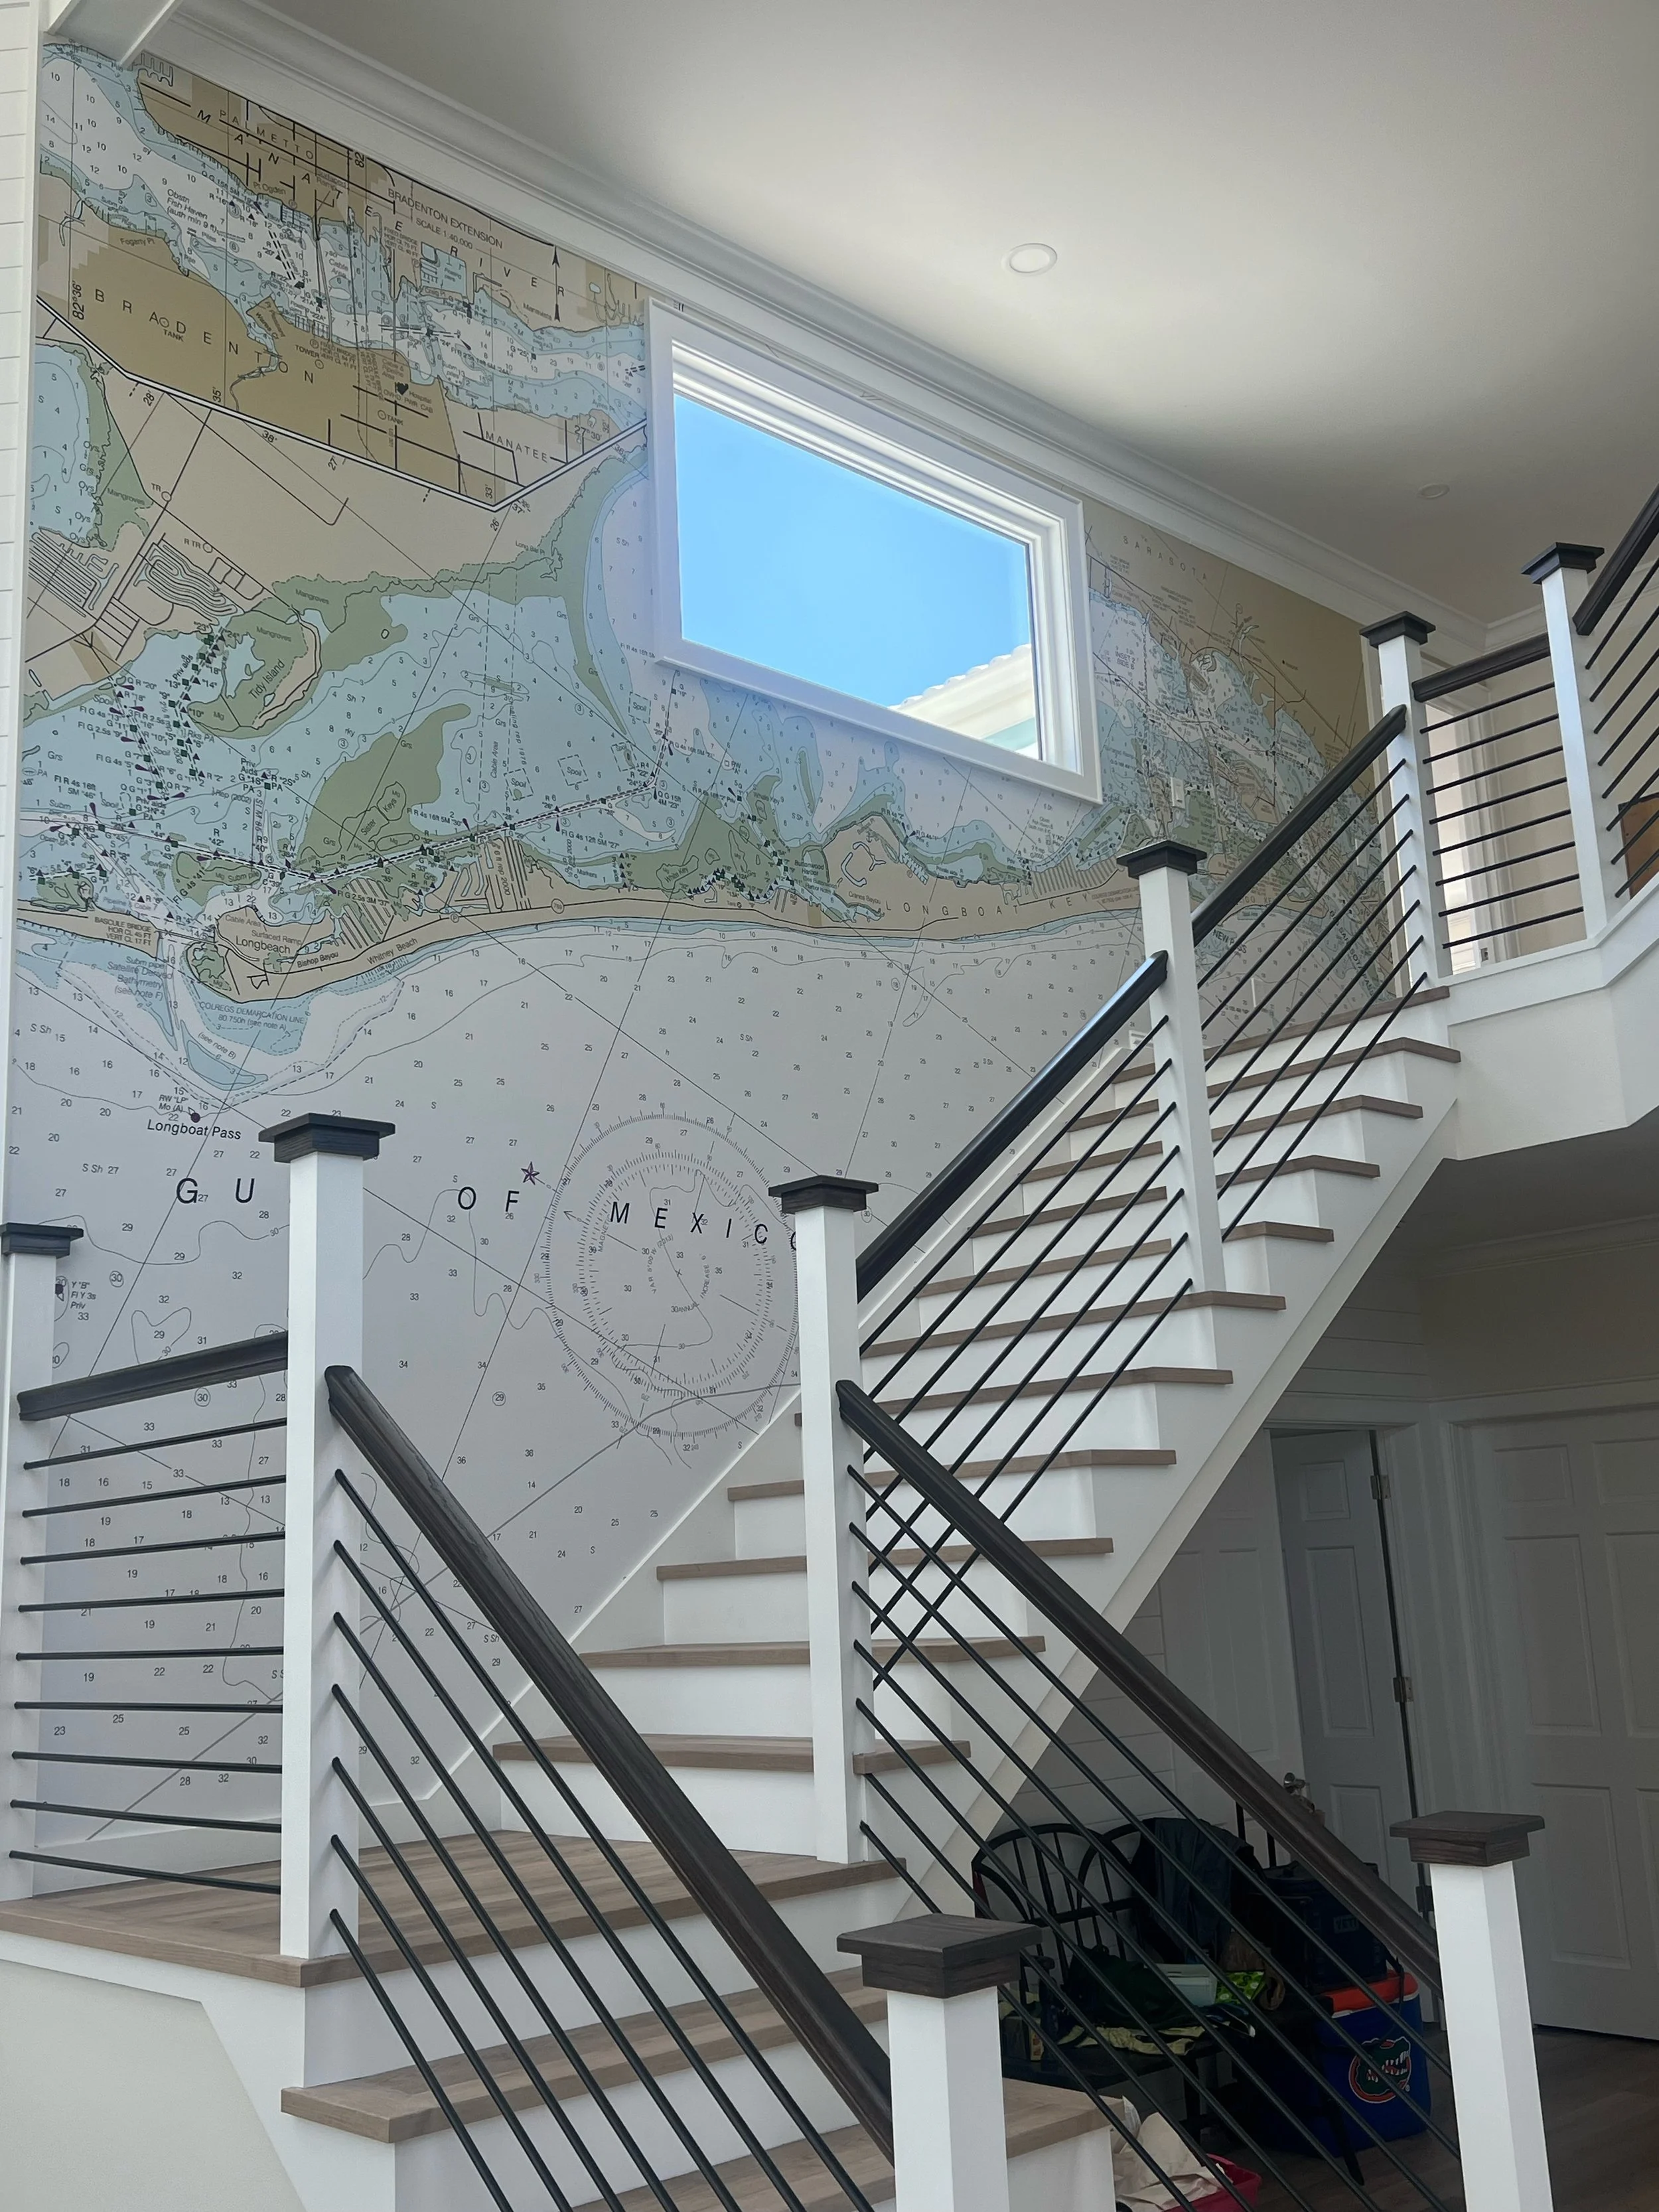
Some of the most dynamic nautical chart wallpaper installations appear in spaces with architectural complexity, including staircases, vaulted ceilings, angled walls, and yacht interiors. These projects usually require more than a basic width and height measurement. We can figure out the trickiest of walls together.
For specialty spaces, please send:
The widest width.
The tallest height.
A simple sketch with major dimensions labeled.
A straight-on photo of the wall.
Notes about slopes, ceiling lines, corners, or directional changes.
Why Photos Are Essential
Measurements establish scale, but photographs provide context. Images help clarify lighting, surrounding finishes, furniture placement, trim details, and any conditions that may affect design or installation.
For best results, include:
One image taken directly facing the wall.
One or two wider photos showing the surrounding room.
Close-up shots of unusual features or obstacles.
These references are especially useful when the mural needs to align with millwork, sightlines, or other interior details.
Installation Allowance
Professional wallpaper installation typically requires a small margin for trimming and alignment. Final production dimensions may vary slightly from the raw wall measurements provided. For that reason, there is no need to add extra inches. Our team builds the appropriate installation tolerance into the final production files.
The most helpful approach is to provide exact, real world dimensions as measured. From there, our Nautical Chart Wallpaper team determines the appropriate production size for DreamScape™ wallpaper, wall conditions, and installation method.
Best Practices for Measuring a Wall for Wallpaper
A few practical guidelines can improve accuracy:
Use a metal tape measure rather than a fabric tape.
Measure in inches.
A quick double-check of dimensions makes all the difference.
Measure height in more than one place if the ceiling may be uneven.
Note baseboards, crown molding, and trim.
Include a sketch for walls with angles or interruptions.
Have a professional installer confirm measurements when possible.
This level of detail allows the mural to be scaled with precision and prepared for a refined finished appearance. We are here to navigate smooth sailing.
What to Send When Requesting a Quote
To begin the design process, please provide:
Full wall width and height for each wall.
Photos of the space.
A sketch if the wall is angled or unusually shaped.
Notes on windows, doors, trim, built-ins, or other architectural features.
Wall labels for multi-wall rooms, using the A-B-C-D system.
Any preferred chart location, harbor, coastline, or design inspiration.
While we can certainly provide layout suggestions based on estimated dimensions, the more complete the information, the better our team can refine the layout, preserve meaningful areas within the chart, and create a custom mural that is fully tailored to the space.
We look forward to working through the details with you; there is no need to have everything perfectly aligned before contacting us.
